This guide helps you connect your GoHighLevel blog so RankAI can publish posts for you. You will need a private integration token and the blog dashboard URL for the blog you want to use.
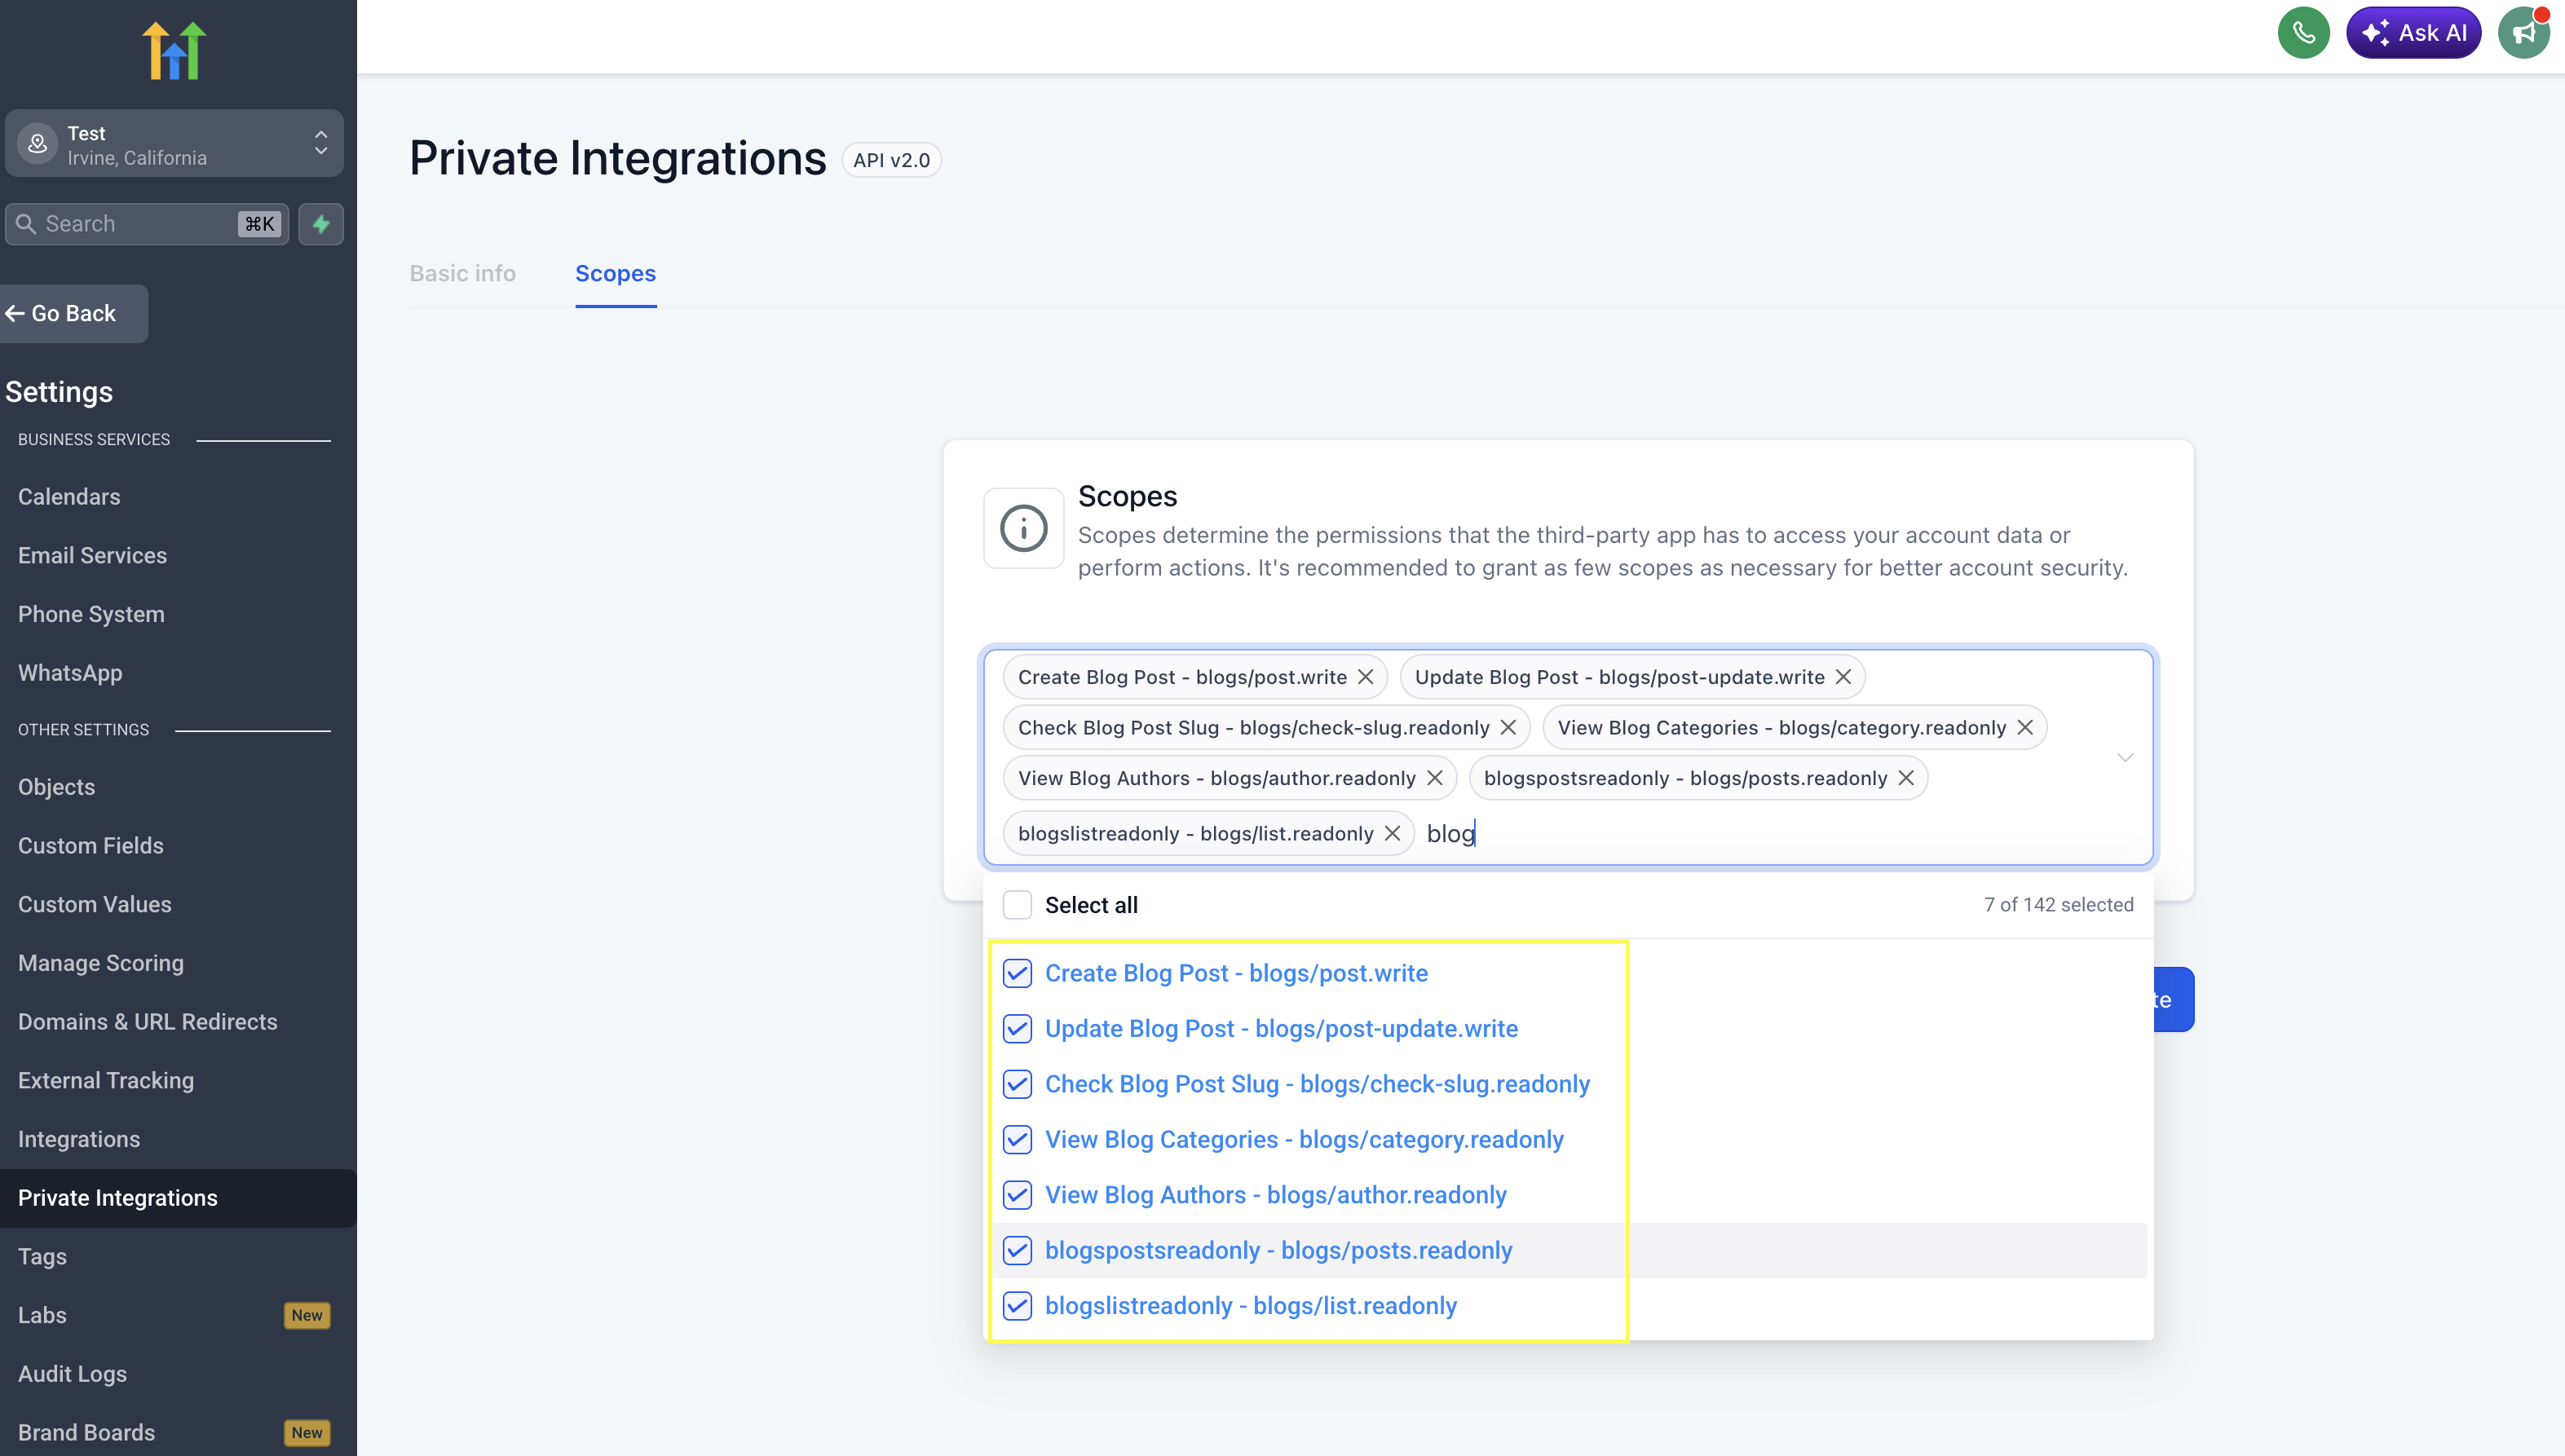
Step 1: Create a private integration token
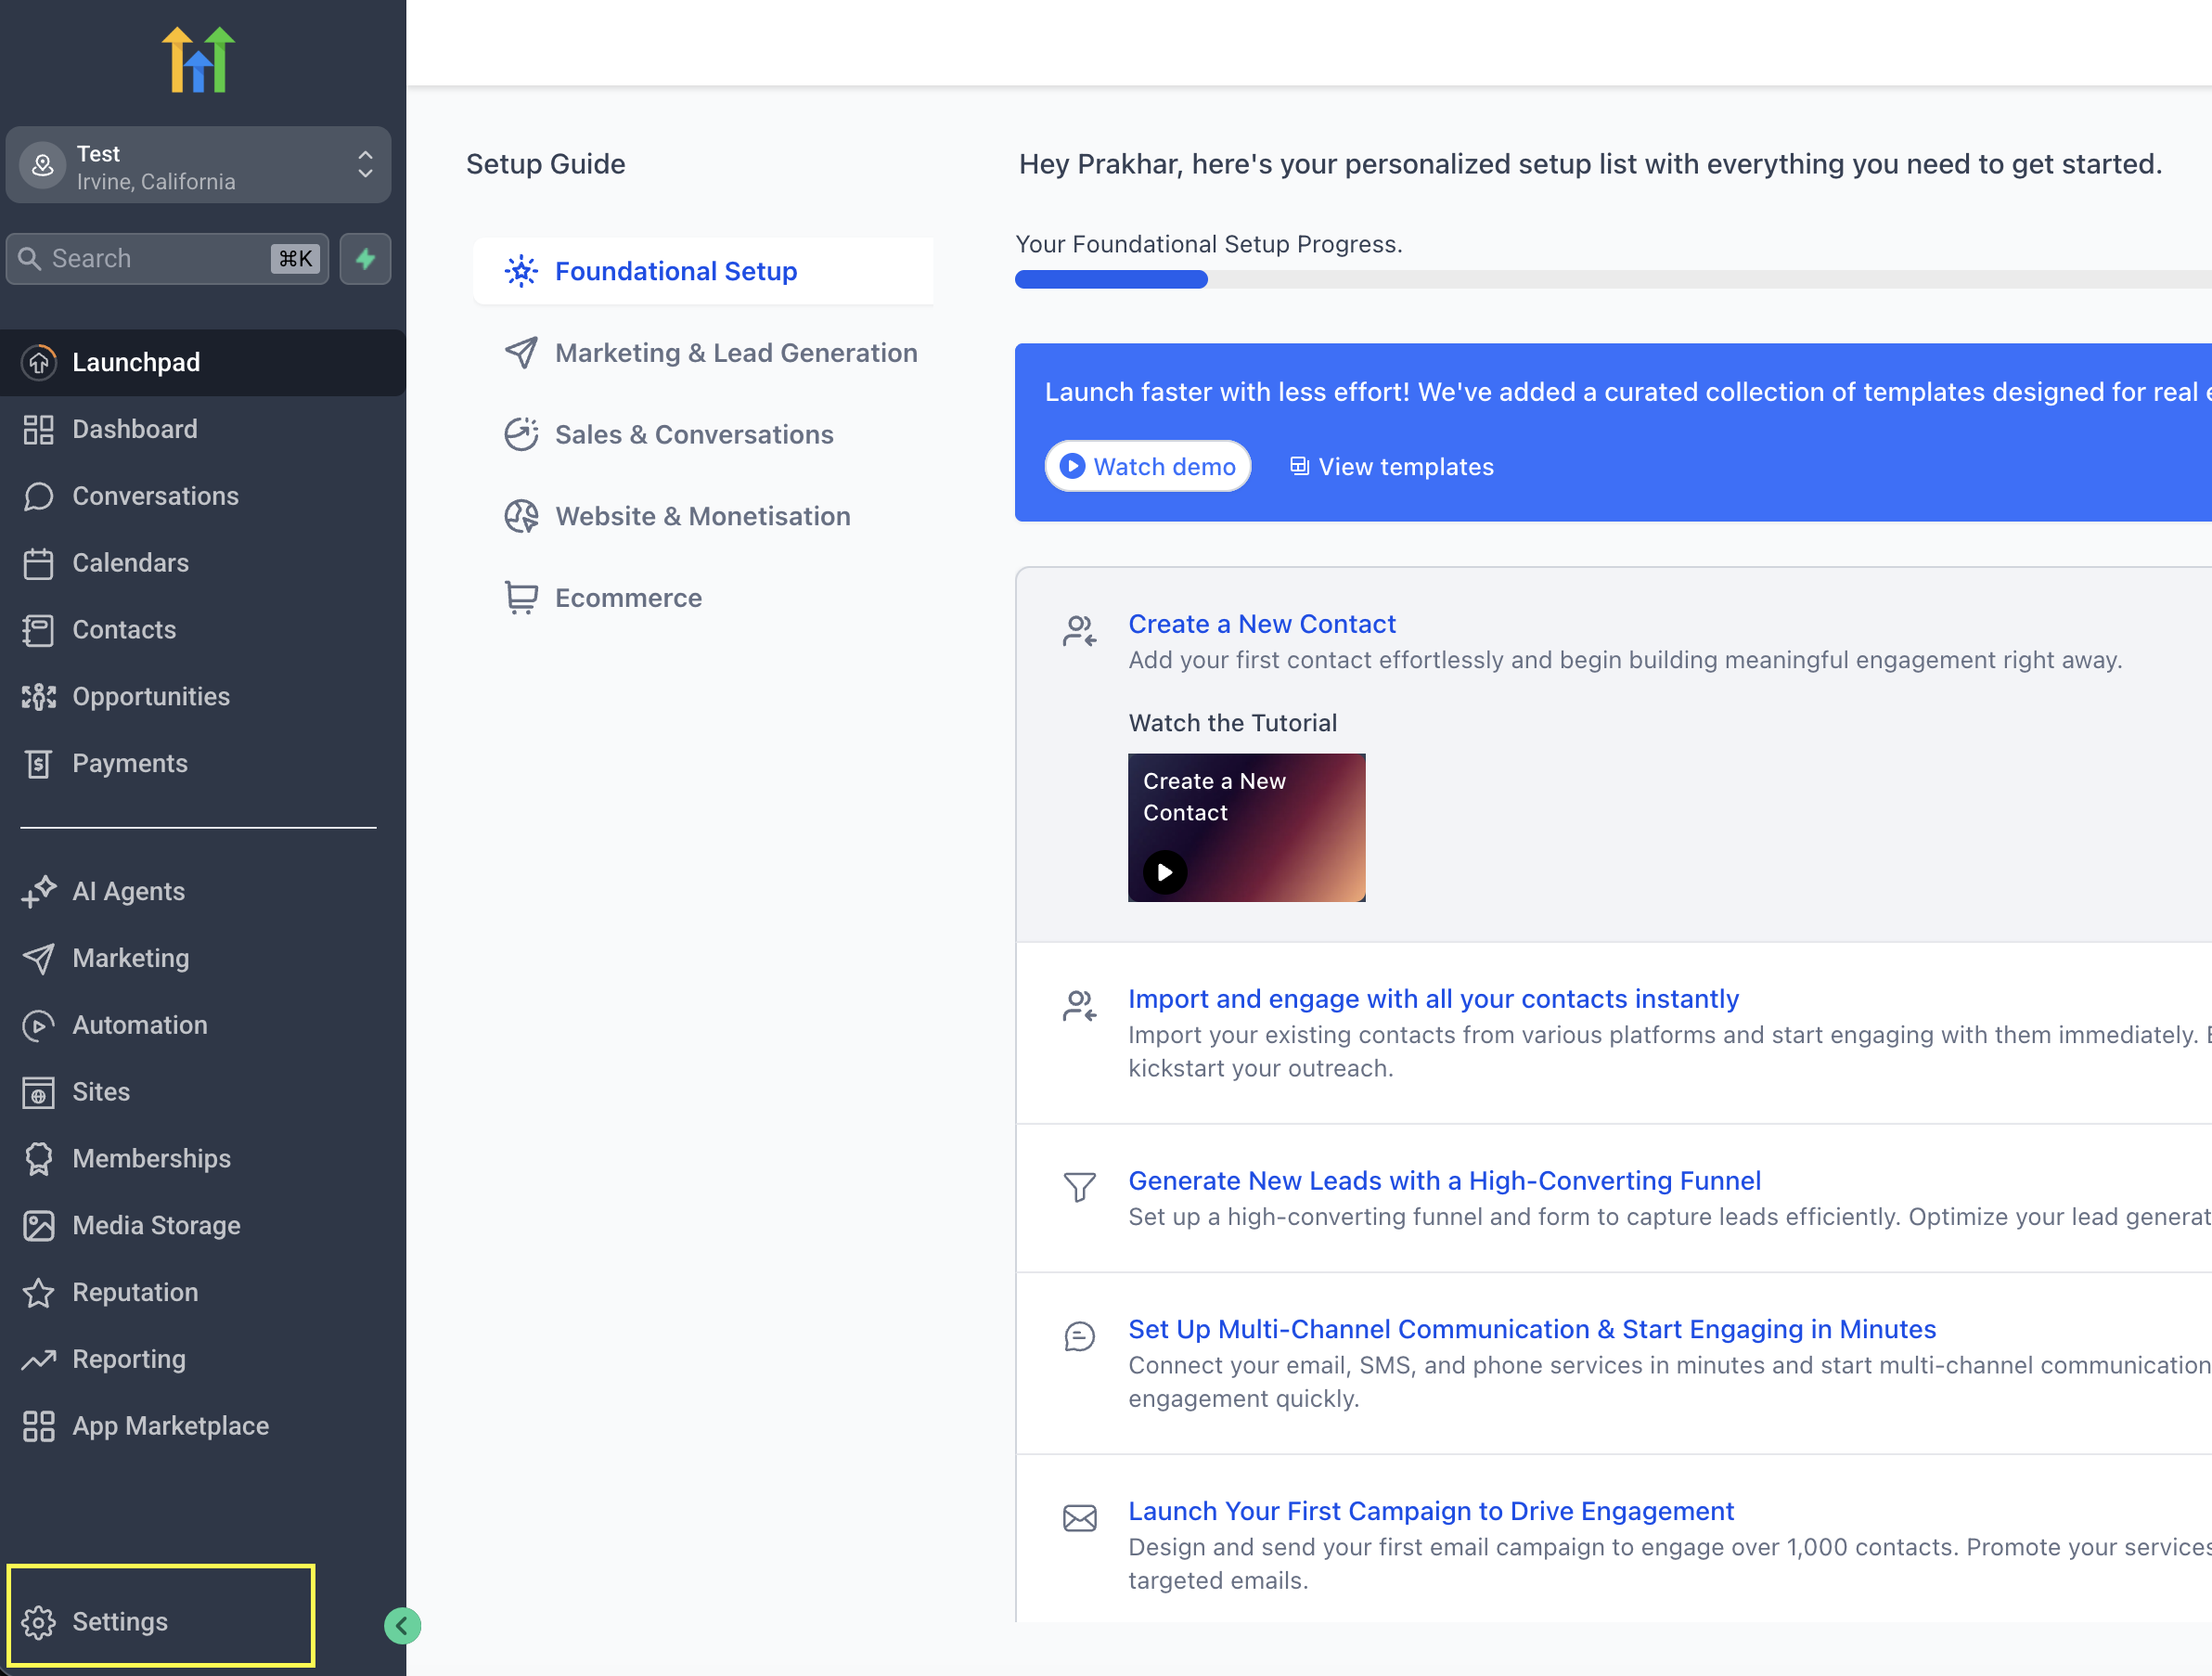 In GoHighLevel, open Settings → Private Integrations, create a new integration, and enable all blog-related permissions (usually around 7 permissions). Then copy the generated token.
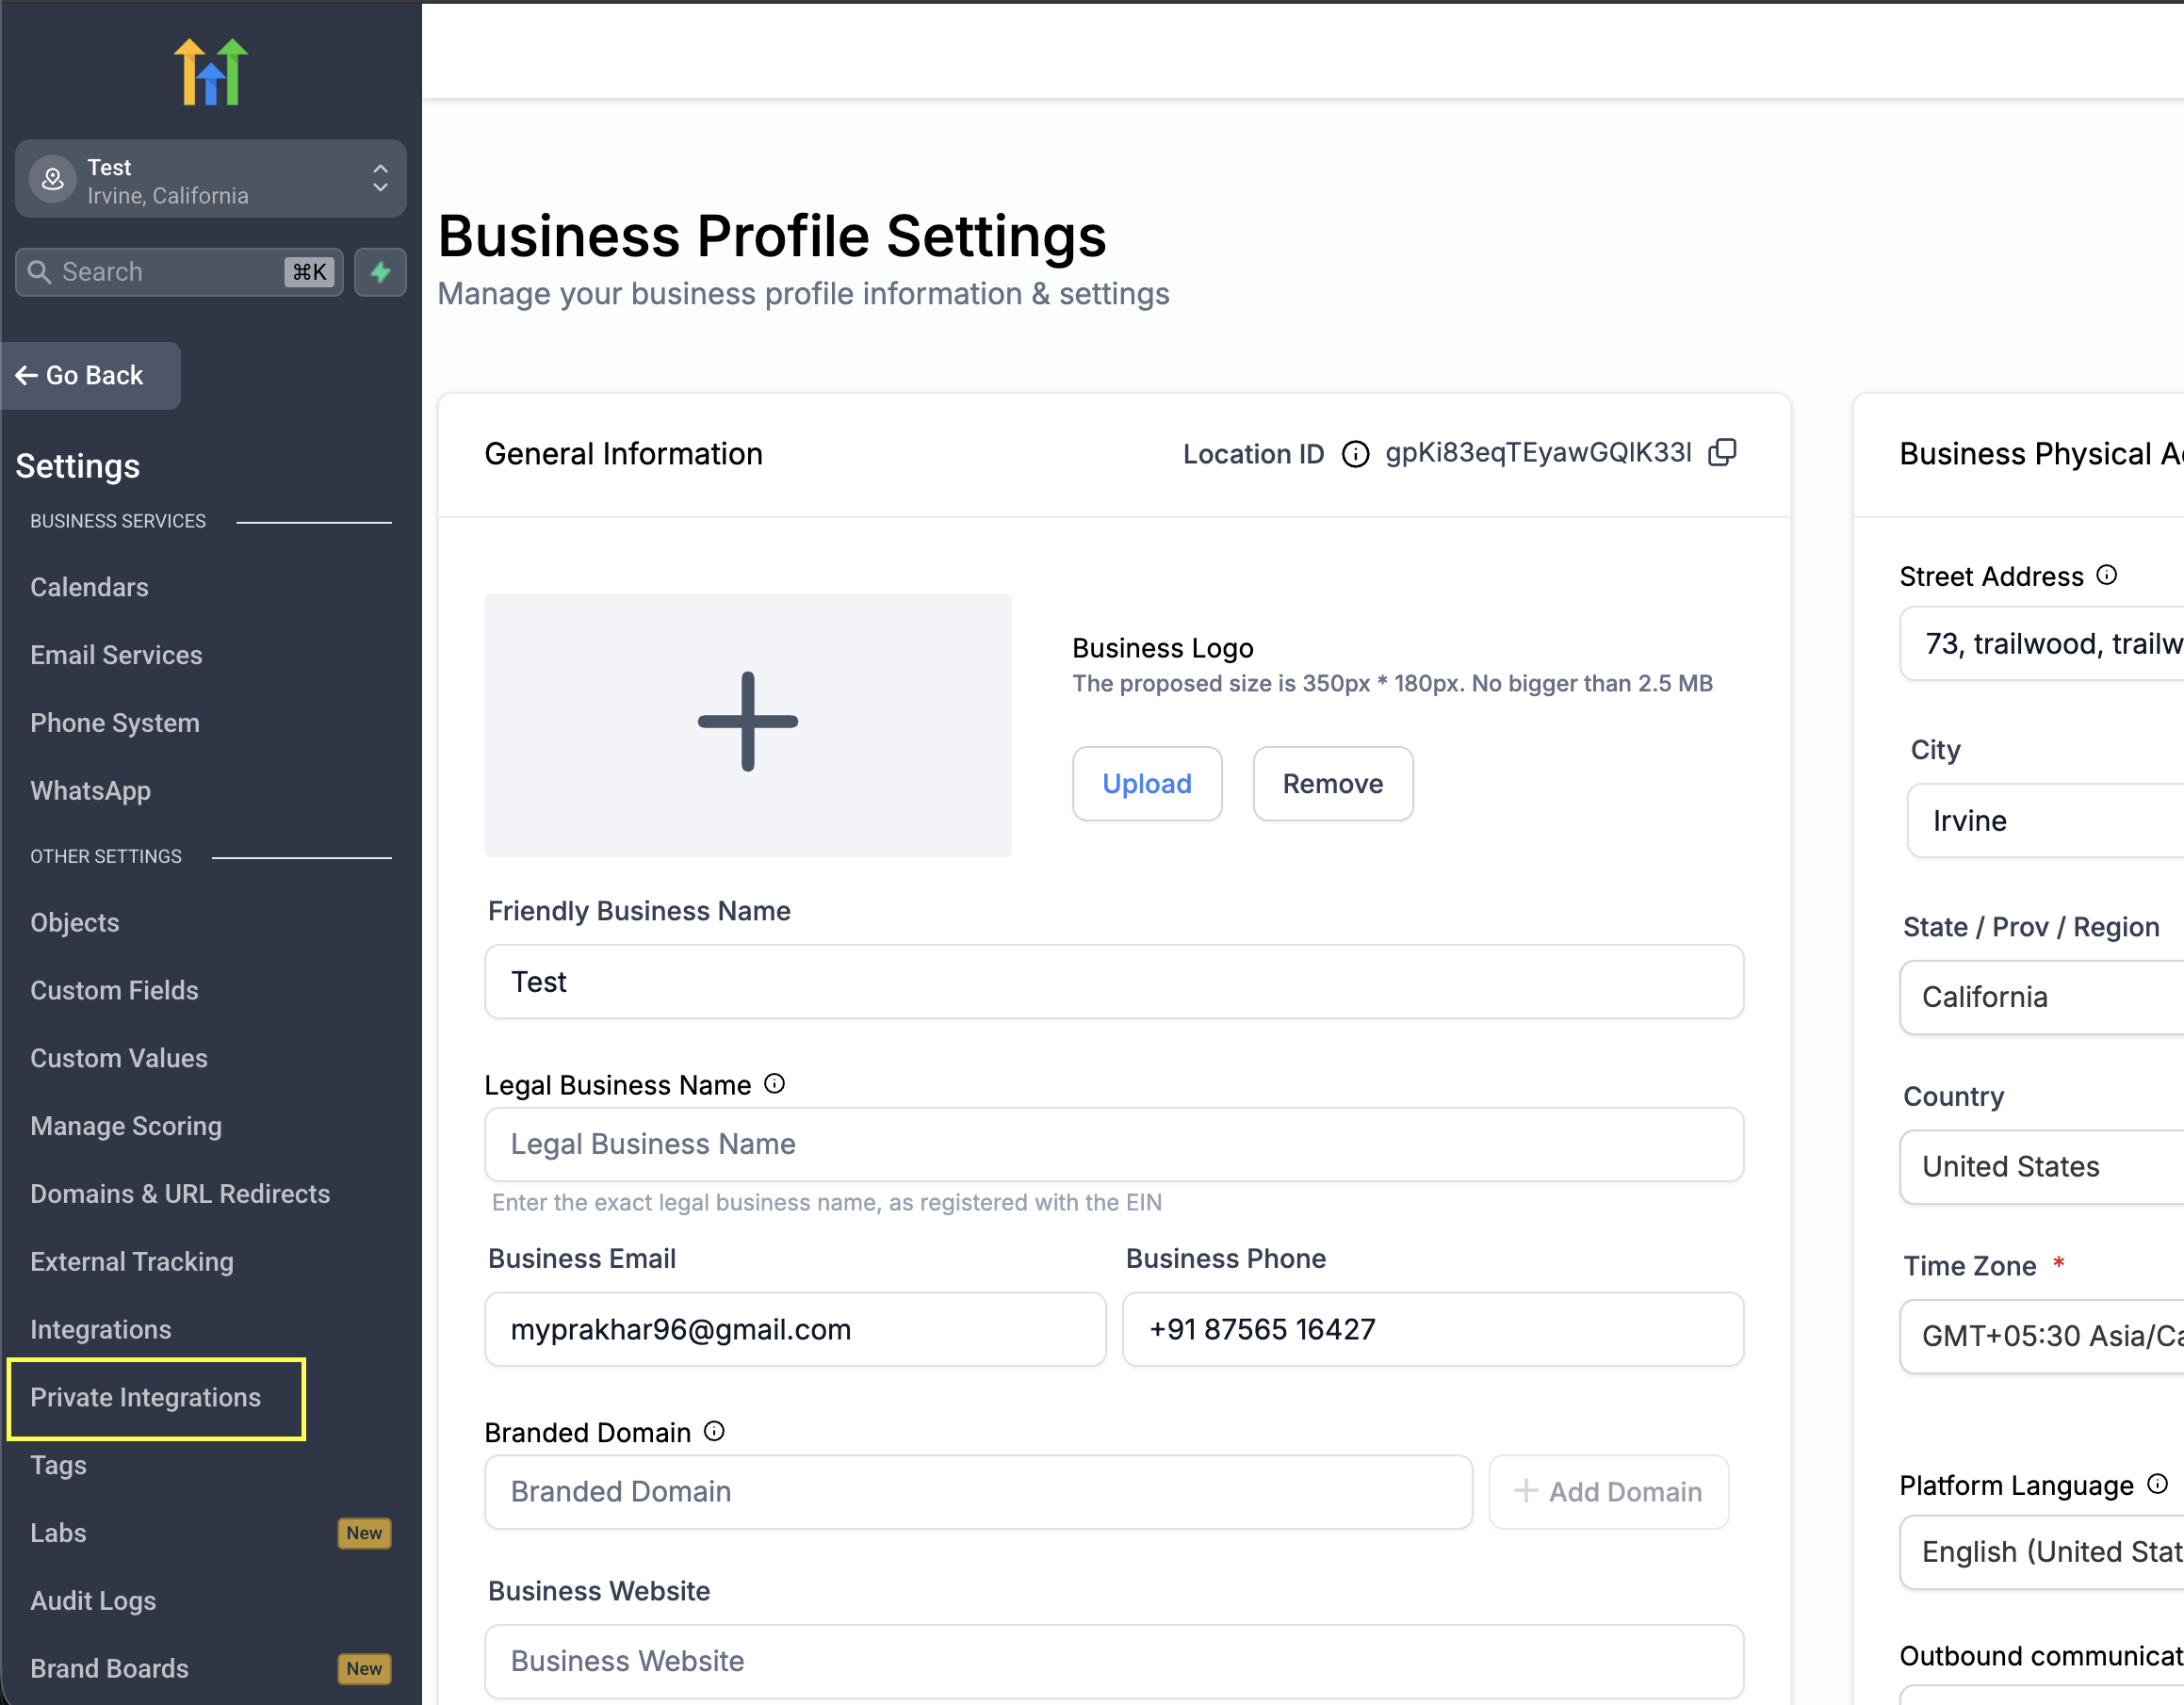
Step 2: Copy the target blog URL
Go to Sites → Blogs, click the target blog, and copy the dashboard URL. It usually looks like: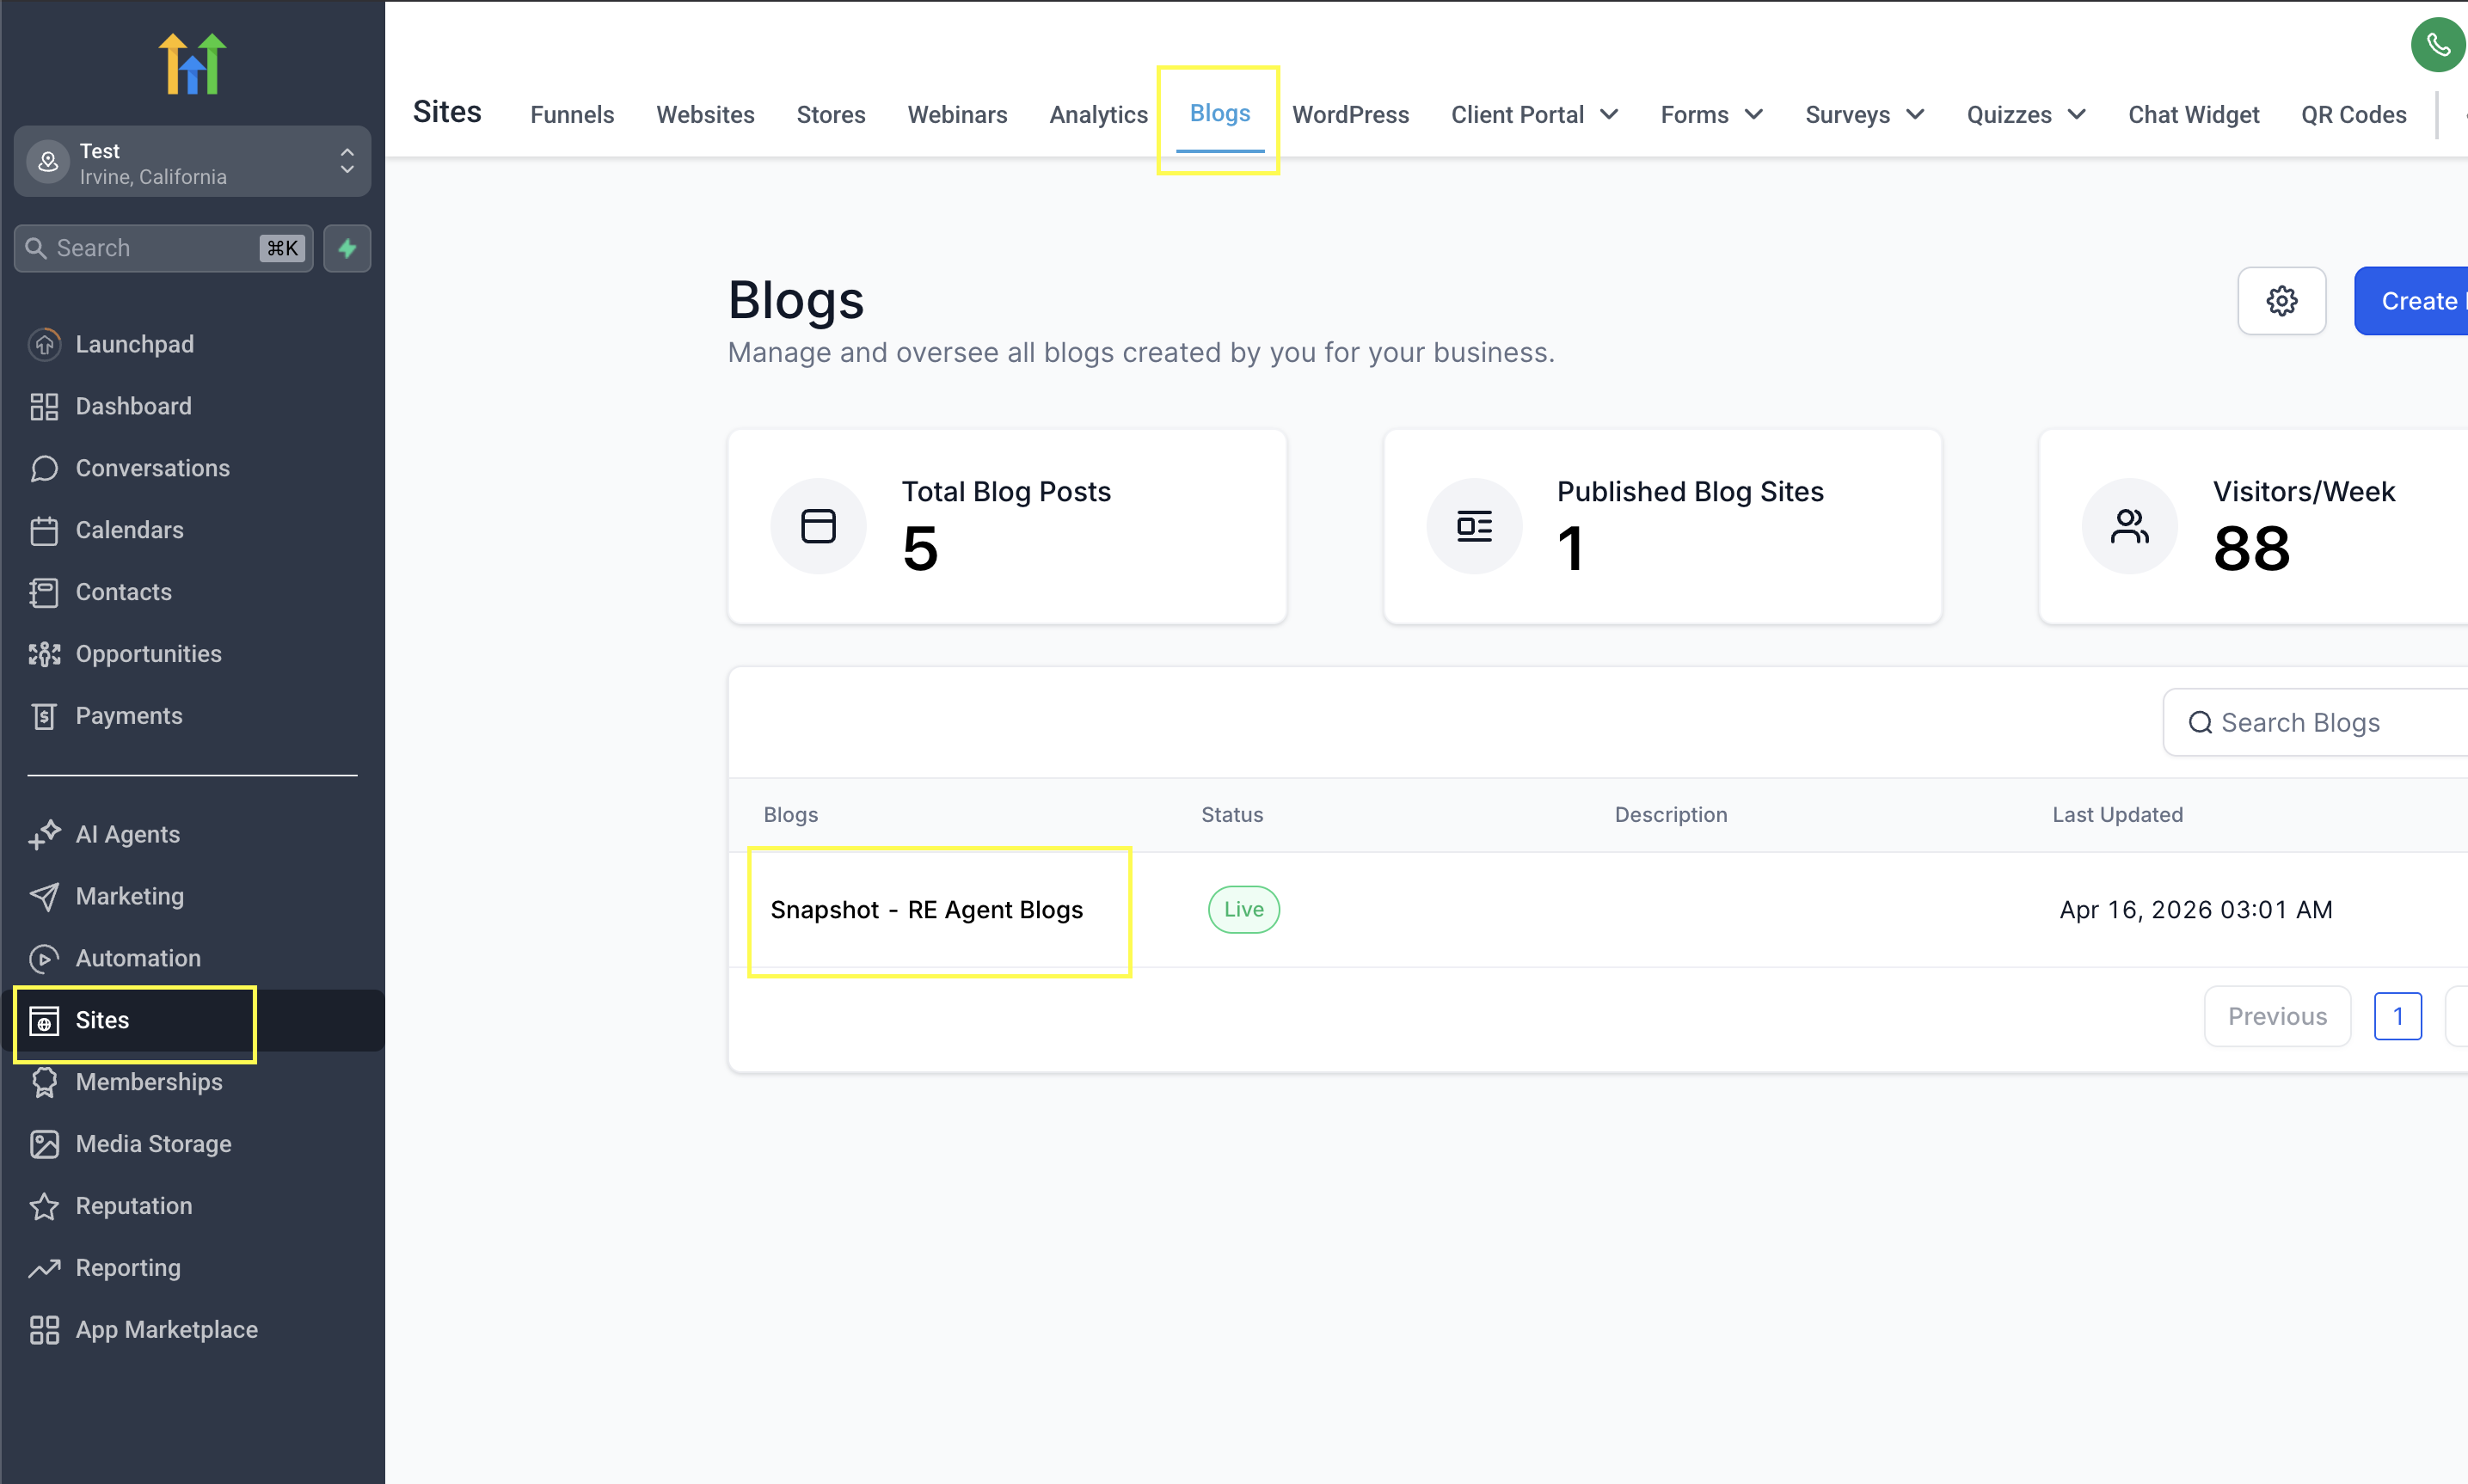

app.gohighlevel.com/v2/location/<locationId>/blogs/site/<blogId>?tab=blog-posts
RankAI automatically extracts locationId and blogId from this URL during setup.
Step 3: Connect in RankAI
In RankAI, open Settings → Site Integration → Configure, choose GoHighLevel, and paste:
- Your private integration token
- Your GoHighLevel blog dashboard URL
Click Connect. RankAI validates credentials and loads available authors and categories from your GoHighLevel location.
Step 4: Select default author and category
Choose the author and category you want RankAI to use while publishing, then click Save.
Publishing behavior
- Posts are always published with status: PUBLISHED.
- Featured image uses a direct S3 URL when available.
- The saved published URL in RankAI follows this format:
https://{project.domain}/post/{slug}.
FAQ
What if Connect fails?
Verify the token is from Private Integrations and includes blog permissions, and confirm the blog URL contains both location and blog IDs.
Can I change author/category later?
Yes. Reopen GoHighLevel integration settings in RankAI, update selections, and save again.